Part 2: Building Login Functionality With Yii2.

This is the second article in my blog series "Building A Simple Web Application With YII2" and in this article we'll be working on the user login.
Yii comes with a default login implementation (view and controller action) but we are going to be modifying it to fit what we want.
The full code for this article can be found on my github: https://github.com/mrfola/yii-result-portal-tutorial/tree/article-2
To check the previous article kindly go here: Part 1: Building User Registration With Yii.
Requirements
In order to get the best from this article, you need to have knowledge of certain things. The details of the requirements can be found here: Building A Simple Web Application With YII2
Login View
As I said earlier, YII2 comes with a default login view and controller action. We'll be overriding the default functionality to make it work as we want.
Navigate to views/site/login.php.
Let's change our form field from username to email.
After the ActiveForm::begin(), replace this
<?= $form->field($model, 'username')->textInput(['autofocus' => true]) ?>
with
<?= $form->field($user, 'email')->input('email') ?>
Also, delete this piece of code at the bottom of your login page:
    <div class="offset-lg-1" style="color:#999;">
        You may login with <strong>admin/admin</strong> or <strong>demo/demo</strong>.<br>
        To modify the username/password, please check out the code <code>app\models\User::$users</code>.
    </div>
Your login view should look something like this now:
<?php

/* @var $this yii\web\View */
/* @var $form yii\bootstrap4\ActiveForm */
/* @var $model app\models\LoginForm */

use yii\bootstrap4\ActiveForm;
use yii\bootstrap4\Html;

$this->title = 'Login';
$this->params['breadcrumbs'][] = $this->title;
?>
<div class="site-login">

    <?php
         $session = Yii::$app->session;

        if($session->hasFlash('errorMessage'))
        {
            $errors = $session->getFlash('errorMessage');

            foreach($errors as $error)
            {
                echo "<div class='alert alert-danger' role='alert'>$error[0]</div>";
            }
        }

        if($session->hasFlash('successMessage'))
        {
            $success = $session->getFlash('successMessage');
            echo "<div class='alert alert-primary' role='alert'>$success</div>";
        }
    ?>

    <h1><?= Html::encode($this->title) ?></h1>

    <p>Please fill out the following fields to login:</p>

    <?php $form = ActiveForm::begin([
        'action' => ['site/login'],
        'id' => 'login-form',
        'layout' => 'horizontal',
        'fieldConfig' => [
            'template' => "{label}\n{input}\n{error}",
            'labelOptions' => ['class' => 'col-lg-1 col-form-label mr-lg-3'],
            'inputOptions' => ['class' => 'col-lg-3 form-control'],
            'errorOptions' => ['class' => 'col-lg-7 invalid-feedback'],
        ],
    ]); ?>

        <?= $form->field($user, 'email')->input('email') ?>

        <?= $form->field($user, 'password')->passwordInput() ?>

        <?= $form->field($user, 'rememberMe')->checkbox([
            'template' => "<div class=\"offset-lg-1 col-lg-3 custom-control custom-checkbox\">{input} {label}</div>\n<div class=\"col-lg-8\">{error}</div>",
        ]) ?>

        <div class="form-group">
            <div class="offset-lg-1 col-lg-11">
                <?= Html::submitButton('Login', ['class' => 'btn btn-primary', 'name' => 'login-button']) ?>
            </div>
        </div>

    <?php ActiveForm::end(); ?>
</div>
Now let's work on the model.
Editing User Model
In order to make login work, we need to add some methods to the User model that we will call from our SiteController.
Navigate to models/User.php
Add the following to the top of your User model (Just after class User extends ActiveRecord implements IdentityInterface{ ):
public $rememberMe = true;
Add the following to the bottom of your User model (Just before the last closing curly braces):
public static function findByUserEmail($email)
    {
        return self::findOne([
            "email" => $email,
            "user_type" => "user"
        ]);
    }

    public function validatePassword($passwordHash)
    {
        return Yii::$app->getSecurity()->validatePassword($this->password, $passwordHash);
    }

    public function login()
    {
        $user = $this->findByUserEmail($this->email);
        if ($user && $this->validatePassword($user->password))
        {
            return Yii::$app->user->login($user, $this->rememberMe ? 3600*24*30 : 0);
        }else
        {
            $this->addError('password', 'Incorrect username or password.');
        }

    }
So we have 3 methods:
The "findByEmail" method simply returns the user based on their email,
The "validatePassword" method validates user password based on the password hash in the database.
The "login" method basically compares the user credentials and then either logs a user in or out based on the credentials.
Now let us edit our SiteController.
Update SiteController
Navigate to controllers/SiteControllers.php, replace your "actionLogin" method with the following:
    public function actionLogin()
    {
        if (!Yii::$app->user->isGuest) {
            return $this->redirect(["site/dashboard"]);
        }

        $request = Yii::$app->request->post();
        $user = new User();
        if($request)
        {
            if ($user->load($request) && $user->login())
            {
                return $this->redirect(["site/dashboard"]);
            }

            $session = Yii::$app->session;
            $session->setFlash('errorMessages', $user->getErrors());
        }


        $user->password = '';
        return $this->render('login', [
            'user' => $user,
        ]);
    }
Then add a new method to render our dashboard:
 public function actionDashboard()
    {
        return $this->render('dashboard');
    }
What this piece of code does is simple. It basically checks if the user is successfully logged in and then redirect them their dashboard. If not, it returns them to the login screen with their error messages.
However have not created a dashboard screen yet, so let's do that.
Add a Dashboard View page.
Navigate to views/site.
Create a file called "dashboard.php".
Inside the dashboard.php, let's add a placeholder for now. We will add more functionality to it later.
Copy the following code and paste it there:
<!DOCTYPE html>
<html lang="en">
<head>
    <meta charset="UTF-8">
    <meta http-equiv="X-UA-Compatible" content="IE=edge">
    <meta name="viewport" content="width=device-width, initial-scale=1.0">
    <title>Dashboard</title>
</head>
<body>
    <h1>I am a dashboard</h1>
</body>
</html>
Now that we have created a dashboard view, let us create a result controller and a dashboard action to render that view.
Test your application.
If you've not served your application, go to command line and type in
yii serve
Then navigate to localhost:8080 on your browser.
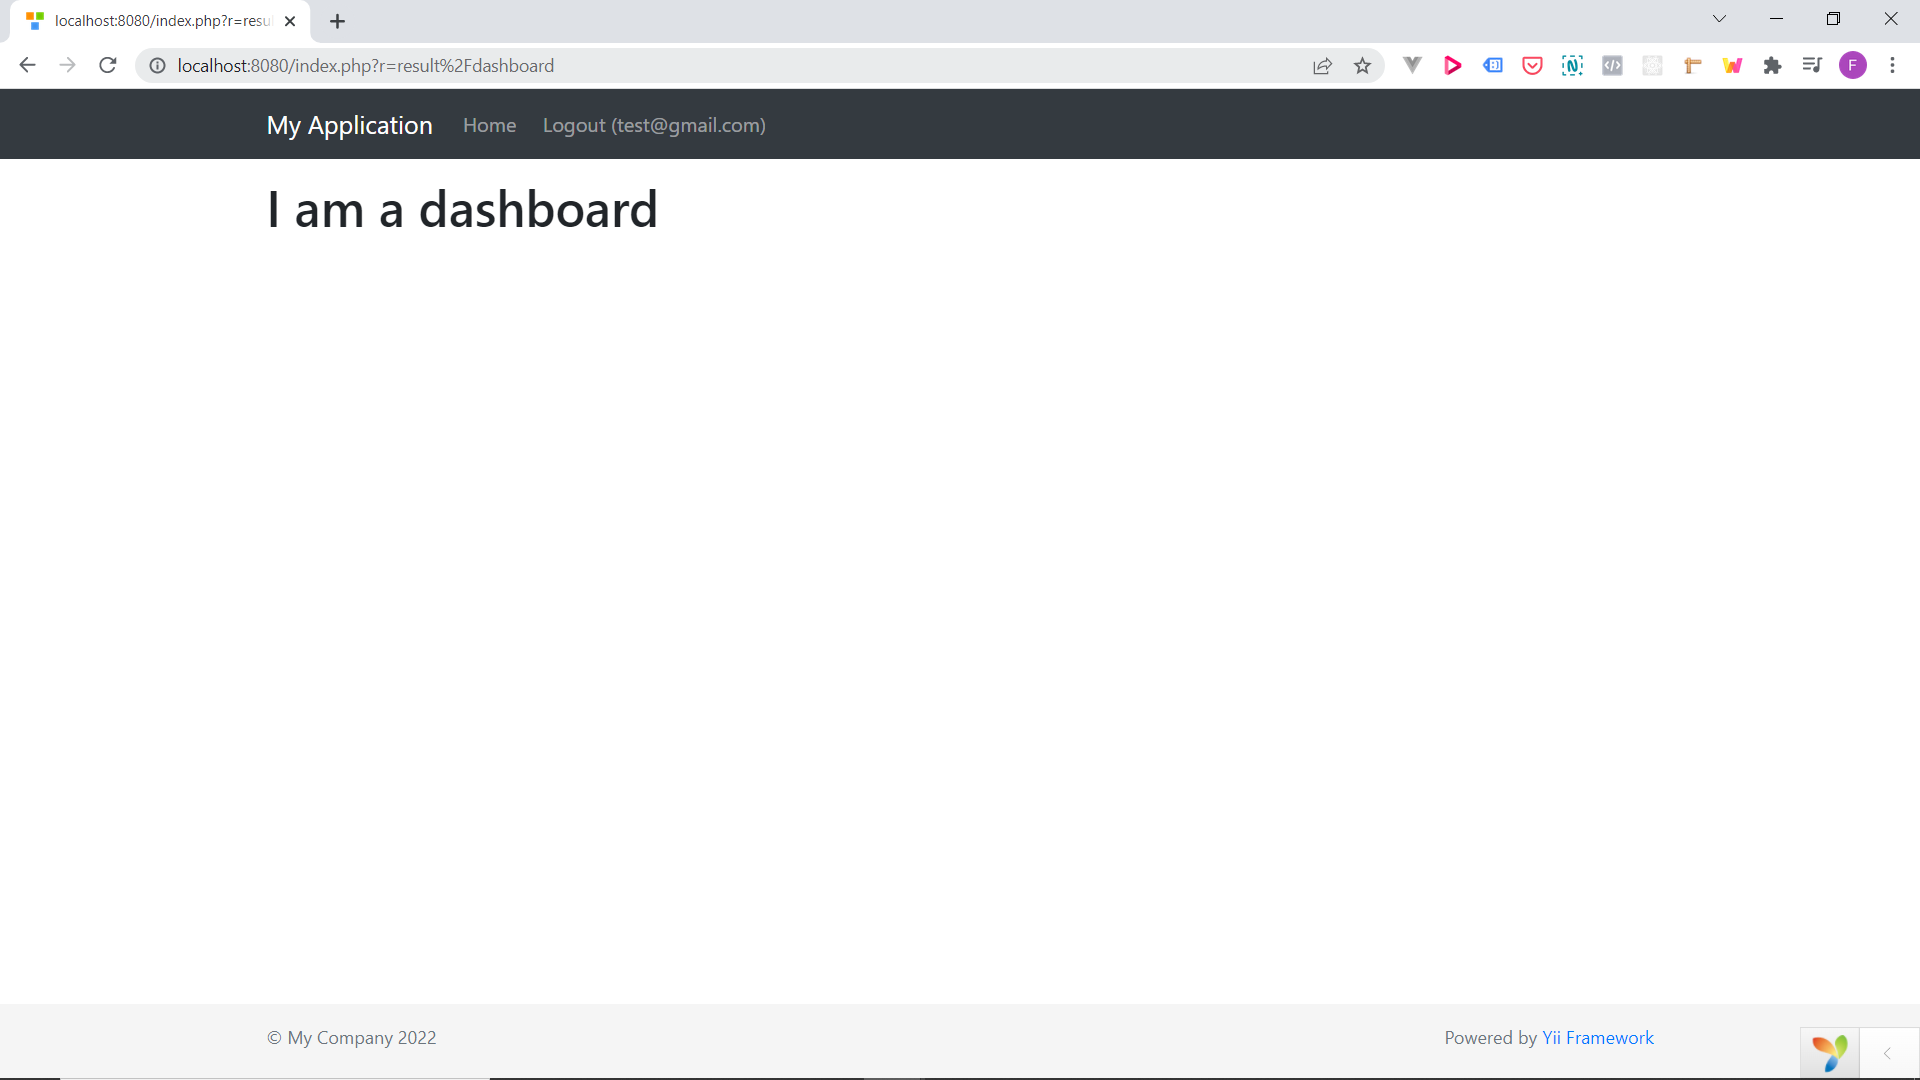
Click on "Login" and input your credentials in the form. Try to log in and it should all work fine🎉.
You should see something like this:
In the next article, we will be working on the admin section login.
If you have any questions or comments kindly leave them below. Thanks.
Don't forget that the full code for this article can be found on my github: https://github.com/mrfola/yii-result-portal-tutorial/tree/article-2


