Part 1: Building User Registration With Yii.

This is the first article in my blog series "Building A Simple Web Application With YII2" and in this article we'll installing YII and working on user registration.
The full code for this article can be found on my github: https://github.com/mrfola/yii-result-portal-tutorial/tree/article-1
To check the next article kindly go here: Part 2: Building Login Functionality
Requirements
In order to get the best from this article, you need to have knowledge of certain things. The details of the requirements can be found here: Building A Simple Web Application With YII2
Install YII2
To install YII2, if you are using composer, open up command line and change directory to where you want to place your project. (Don't create a folder for the project as YII will do that for you)
cd path-to-project
To install YII2 project, type the following command on your command line:
composer create-project --prefer-dist yiisoft/yii2-app-basic result-portal
This will install a YII2 project for you with the name "result-portal". If you want to use a different name for your project, kindly replace "result-portal" with whatever name you want.
Configure Database.
Once the YII2 project is installed, we want to create a database and connect it to our YII project.
Navigate to config/db.php and you'll see the YII default configuration:
   'class' => 'yii\db\Connection',
    'dsn' => 'mysql:host=localhost;dbname=yii2basic',
    'username' => 'root',
    'password' => '',
    'charset' => 'utf8'
You can use any type of database you want, but I'll be using a MySQL database and my credentials are as follows:
Database name: result-portal
Username: root
Password:
Host: localhost
If your credentials are different from my own, you'll have to input the correct credentials.
My configuration file looks like this now:
   'class' => 'yii\db\Connection',
    'dsn' => 'mysql:host=localhost;dbname=result-portal',
    'username' => 'root',
    'password' => '',
    'charset' => 'utf8'
Create User Migration.
After connecting your project to the database, we have to setup our Users table and we'll be doing so using migrations.
If you don't know what migrations are, here is a summarized explanation:
A migration is a way that allows you to create databases without going to your DBMS (PhpMyAdmin for instance). It allows you to create the database schema using code which makes it easier for you (or other team members) to manage the database schema as it changes over time.
To understand more about migrations, you can check the YII documentation
Now we need to create a migration to create the "Users" table.
Simply use this command to create it:
yii migrate/create create_users_table
When you enter that command, you get a prompt like this:
Create new migration 'path-to-your-project/migrations\ m220211_093807_create_users_table.php'? (yes|no) [no]:
Enter "yes" and you should see a success message like this:
New migration created successfully.
Navigate to the migrations folder and you'll see the newly created migration there. Notice the numbers of the format xxxxxx_yyyyyy ("2202211_093807" in my case) in the migration name.
The first set of numbers represent the year, month and day while the last set of numbers represent the hour, minute and second when the migration was created.
So essentially the naming template is "YYMMDD_HHMMSS".
Let's edit the migration to create our Users table.
To create the Users table, you should have 2 methods: SafeUp and SafeDown.
Like this:
    /**
     * {@inheritdoc}
     */
    public function safeUp()
    {
        $this->createTable('{{%users}}', [
            'id' => $this->primaryKey(),
        ]);
    }

    /**
     * {@inheritdoc}
     */
    public function safeDown()
    {
        $this->dropTable('{{%users}}');
    }
In the safeUp, you are to write code that changes the database structure (e.g. we will write code to create Users table). For the safeDown, you are to write code that reverts the changes you made in the safeUp (e.g if you add a table to the database, you want to remove that table from the database or if you added a column to a table, you want to remove that column from the database).
Let's modify our migration to create the Users table:
Modify your "safeUp" method to look like this:
public function safeUp()
    {
        $this->createTable('{{%users}}', [
            'id' => $this->primaryKey(),
            'name' => $this->string(64),
            'email' => $this->string(64),
            'password' => $this->string(120),
            'user_type' => $this->string(120)->defaultValue('user'),
            'auth_key' =>  $this->string(100),
            'created_at' => $this->dateTime()->defaultValue(Date('Y-m-d H:i:s')),
            'updated_at' => $this->dateTime()->defaultValue(Date('Y-m-d H:i:s')),
        ]);
    }
Then let's create that table in our database. We do that by running the following command:
yii migrate
When you run that, you should get a prompt like this:
Total 1 new migration to be applied:
        m220211_093807_create_users_table

Apply the above migration? (yes|no) [no]:
Enter "yes" and you should see a success message like this:
1 migration was applied. Migrated up successfully
We have successfully created our User table now.
Let's move on to creating User Registration.
Creating User Registration
There are 2 parts to creating this: There is the view (the part the user sees on the browser) and there is the controller (the part that makes the view work).
We will start with the view:
User Registration View.
Navigate to views/site and create a new file called "register.php". That will be our view file for the register page.
Next we are required to type the code that will make user registration possible.
Let's create a form for this.
In HTML, we can use the <form></form> tag but YII provides us with an ActiveForm widget which we will use instead.
Type the following in your "register.php":
<?php
 use yii\widgets\ActiveForm;
?>
<!DOCTYPE html>
<html lang="en">
<head>
    <meta charset="UTF-8">
    <meta http-equiv="X-UA-Compatible" content="IE=edge">
    <meta name="viewport" content="width=device-width, initial-scale=1.0">
    <title>Register</title>
</head>
<body>

    <?php
        $session = Yii::$app->session;
        $errors = $session->getFlash('errorMessages');
        $success = $session->getFlash('successMessage');
        if(isset($errors) && (count($errors) > 0))
        {
            foreach($session->getFlash('errorMessages') as $error)
            {
                echo "<div class='alert alert-danger' role='alert'>$error[0]</div>";
            }
        }

        if(isset($success))
        {
            echo "<div class='alert alert-success' role='alert'>$success</div>";
        }
    ?>

    <h1>Register</h1>

    <?php
    ActiveForm::begin([
        "action" => ["site/sign-up"],
        "method" => "post"
    ]);
    ?>
 <div class="mb-3">
        <label class="form-label">Name</label>
        <input type="text" name="name" placeholder="Name" class="form-control" required>
    </div>
    <div class="mb-3">
        <label class="form-label">Email</label>
        <input type="email" name="email" placeholder="Email" class="form-control" required>
    </div>
    <div class="mb-3">
        <label class="form-label">Password</label>
        <input type="password" name="password" placeholder="Password" class="form-control" required>
    </div>
    <button type="submit" class="btn btn-primary">Register</button>

    <?php
    ActiveForm::end();
    ?>
</body>
</html>
The PHP code before the <h1>Register</h1> simply returns an error or success message based on what is passed into the session.
The ActiveForm::begin() method creates the HTML form opening tag
We then added basic html inputs and closed of the form with ActiveForm::end()
Now let's move on to creating our controller method (or action as it is called in YII).
User Registration Method.
YII comes with a default controller called "SiteController". If you navigate to controllers, you should see SiteController.php.
We would be writing our User Registration methods/action. (Note: Every action in YII must be preceded by the "action" keyword)
There are 2 actions we need to create in our controller:
- Action to display the registration page
- Action to save the user to database on successful registration.
Let's display the registration page first.
After "actionAbout" function in the controller, type the following code:
    public function actionRegister()
    {
        return $this->render('register');
    }
This code simply says YII should render the "register.php" file when this "actionRegister" method is called.
Let's view our register page.
To serve your application, type the following in your command line:
yii serve
You should get a response like this:
PHP 8.0.8 Development Server (http://localhost:8080) started
Now open your web browser and navigate to localhost:8080 and you should see something like this:
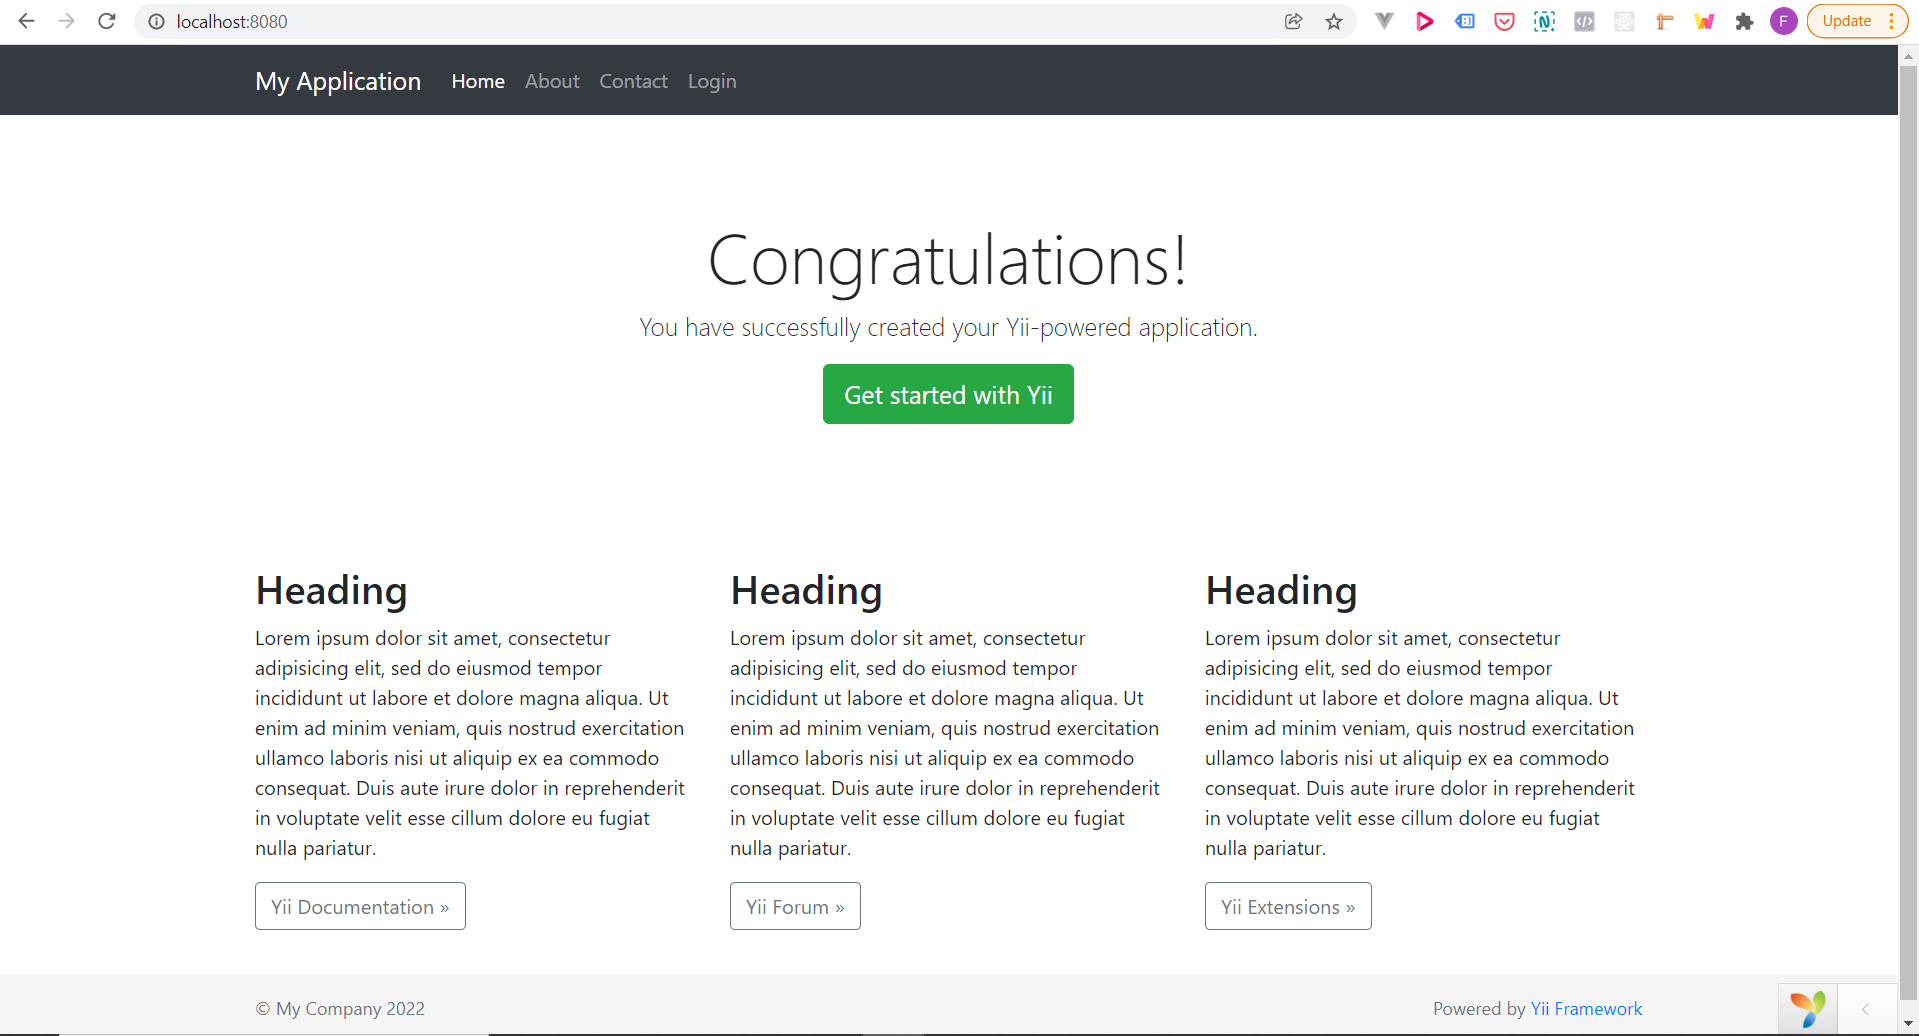
Now navigate to http://localhost:8080/index.php?r=site%2Fregister and you should see something like this:

Everything works fine.
We are halfway done with the registration section.
But if you noticed is no "register" on the navigation bar, let's fix that.
User Registration Navigation.
Navigate to views/layouts/main.php and you should see something like this:
<?php
/** @var yii\web\View $this */
/** @var string $content */
use app\assets\AppAsset;
use app\widgets\Alert;
use yii\bootstrap4\Breadcrumbs;
use yii\bootstrap4\Html;
use yii\bootstrap4\Nav;
use yii\bootstrap4\NavBar;
AppAsset::register($this);
?>
<?php $this->beginPage() ?>
<!DOCTYPE html>
<html lang="<?= Yii::$app->language ?>" class="h-100">
<head>
<meta charset="<?= Yii::$app->charset ?>">
<meta name="viewport" content="width=device-width, initial-scale=1, shrink-to-fit=no">
<?php $this->registerCsrfMetaTags() ?>
<title><?= Html::encode($this->title) ?></title>
<?php $this->head() ?>
</head>
<body class="d-flex flex-column h-100">
<?php $this->beginBody() ?>
<header>
<?php
NavBar::begin([
'brandLabel' => Yii::$app->name,
'brandUrl' => Yii::$app->homeUrl,
'options' => [
'class' => 'navbar navbar-expand-md navbar-dark bg-dark fixed-top',
],
]);
echo Nav::widget([
'options' => ['class' => 'navbar-nav'],
'items' => [
['label' => 'Home', 'url' => ['/site/index']],
['label' => 'About', 'url' => ['/site/about']],
['label' => 'Contact', 'url' => ['/site/contact']],
Yii::$app->user->isGuest ? (
['label' => 'Login', 'url' => ['/site/login']]
) : (
'<li>'
. Html::beginForm(['/site/logout'], 'post', ['class' => 'form-inline'])
. Html::submitButton(
'Logout (' . Yii::$app->user->identity->username . ')',
['class' => 'btn btn-link logout']
)
. Html::endForm()
. '</li>'
)
],
]);
NavBar::end();
?>
</header>
<main role="main" class="flex-shrink-0">
<div class="container">
<?= Breadcrumbs::widget([
'links' => isset($this->params['breadcrumbs']) ? $this->params['breadcrumbs'] : [],
]) ?>
<?= Alert::widget() ?>
<?= $content ?>
</div>
</main>
<footer class="footer mt-auto py-3 text-muted">
<div class="container">
<p class="float-left">© My Company <?= date('Y') ?></p>
<p class="float-right"><?= Yii::powered() ?></p>
</div>
</footer>
<?php $this->endBody() ?>
</body>
</html>
<?php $this->endPage() ?>
This part uses a widget to add a navigation bar. Let's edit it to include the registration link and change the email to show beside logout on Navbar instead of username
Replace the code above with the following:
<?php
/** @var yii\web\View $this */
/** @var string $content */
use app\assets\AppAsset;
use app\widgets\Alert;
use yii\bootstrap4\Breadcrumbs;
use yii\bootstrap4\Html;
use yii\bootstrap4\Nav;
use yii\bootstrap4\NavBar;
AppAsset::register($this);
?>
<?php $this->beginPage() ?>
<!DOCTYPE html>
<html lang="<?= Yii::$app->language ?>" class="h-100">
<head>
<meta charset="<?= Yii::$app->charset ?>">
<meta name="viewport" content="width=device-width, initial-scale=1, shrink-to-fit=no">
<?php $this->registerCsrfMetaTags() ?>
<title><?= Html::encode($this->title) ?></title>
<?php $this->head() ?>
</head>
<body class="d-flex flex-column h-100">
<?php $this->beginBody() ?>
<header>
<?php
NavBar::begin([
'brandLabel' => Yii::$app->name,
'brandUrl' => Yii::$app->homeUrl,
'options' => [
'class' => 'navbar navbar-expand-md navbar-dark bg-dark fixed-top',
],
]);
echo Nav::widget([
'options' => ['class' => 'navbar-nav'],
'items' => [
['label' => 'Home', 'url' => ['/site/index']],
Yii::$app->user->isGuest ? (['label' => 'Register', 'url' => ['/site/register']]) : '',
Yii::$app->user->isGuest ? (
['label' => 'Login', 'url' => ['/site/login']]
) : (
'<li>'
. Html::beginForm(['/site/logout'], 'post', ['class' => 'form-inline'])
. Html::submitButton(
'Logout (' . Yii::$app->user->identity->email . ')',
['class' => 'btn btn-link logout']
)
. Html::endForm()
. '</li>'
)
],
]);
NavBar::end();
?>
</header>
<main role="main" class="flex-shrink-0">
<div class="container">
<?= Breadcrumbs::widget([
'links' => isset($this->params['breadcrumbs']) ? $this->params['breadcrumbs'] : [],
]) ?>
<?= Alert::widget() ?>
<?= $content ?>
</div>
</main>
<footer class="footer mt-auto py-3 text-muted">
<div class="container">
<p class="float-left">© My Company <?= date('Y') ?></p>
<p class="float-right"><?= Yii::powered() ?></p>
</div>
</footer>
<?php $this->endBody() ?>
</body>
</html>
<?php $this->endPage() ?>
?>
This simply tells YII to add a "register" link to the NavBar if the user is a guest.
Now let's go back to our web browser to see the changes.
Open your web browser and navigate to localhost:8080
You should see this now:
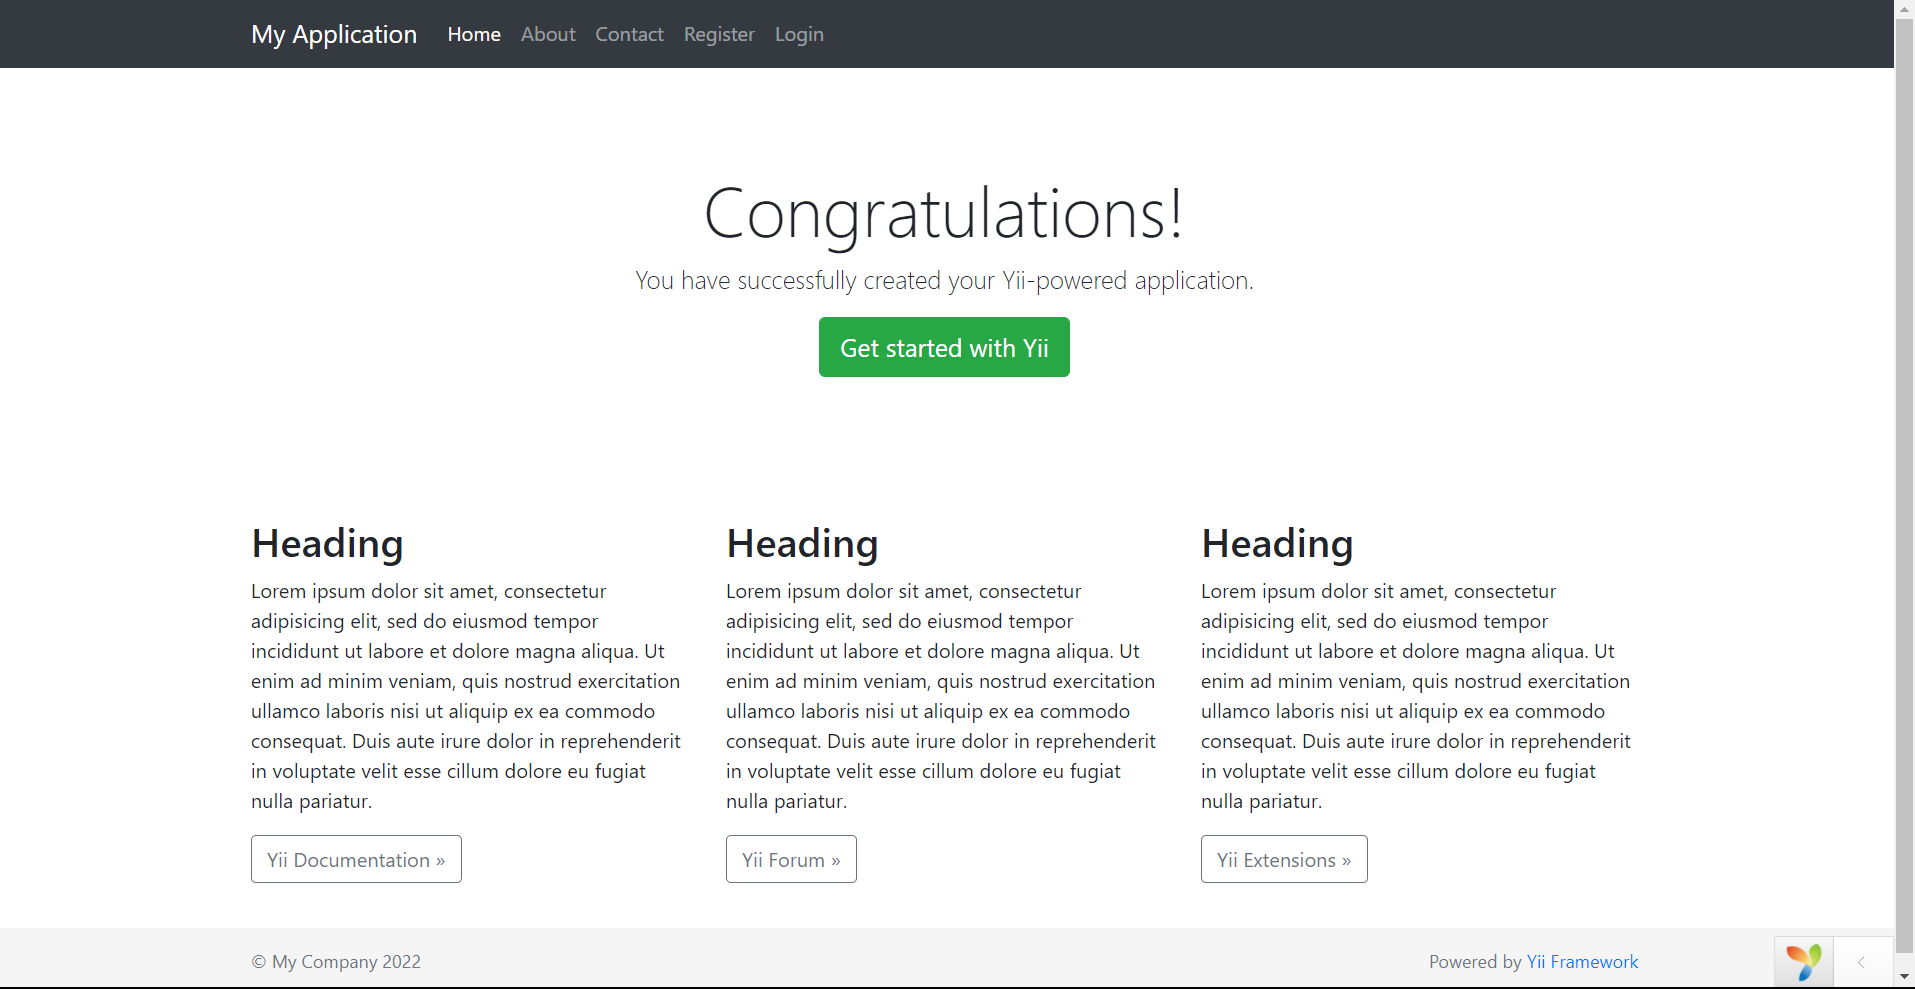
Click on the "Register" on the NavBar and it should direct you to the correct page.
Now let's make the form work. To do that we need to use a model that will manage all the data related to our User.
User Registration Model.
YII comes with a default User model. We we will be making edits to that model to enable our registration work properly.
Navigate to models/User.php.
Let's replace everything in the model with the following:
<?php

namespace app\models;

use Yii;
use yii\db\ActiveRecord;
use yii\web\IdentityInterface;

/**
 * This is the model class for table "users".
 *
 * @property int $id
 * @property string $name
 * @property string $email
 * @property string $password
 * @property string|null $created_at
 * @property string|null $updated_at
 *

 */
class User extends ActiveRecord implements IdentityInterface
{
    /**
     * {@inheritdoc}
     */
    public static function tableName()
    {
        return 'users';
    }

    /**
     * {@inheritdoc}
     */
    public function rules()
    {
        return [
            [['name', 'email', 'password', ], 'required'],
            ['email', 'email'],
            ['email', 'unique'],
            [['created_at', 'updated_at'], 'safe'],
            [['name', 'email', 'password'], 'string', 'max' => 100],
        ];
    }

    /**
     * {@inheritdoc}
     */
    public function attributeLabels()
    {
        return [
            'id' => 'ID',
            'name' => 'Name',
            'email' => 'Email',
            'password' => 'Password',
        ];
    }

    public static function findIdentity($id)
    {
        return static::findOne($id);
    }

    public static function findIdentityByAccessToken($token, $type = null)
    {
        return static::findOne(['access_token' => $token]);
    }

    public function getId()
    {
        return $this->id;
    }

    public function getAuthKey()
    {
        return $this->auth_key;
    }

    public function validateAuthKey($auth_key)
    {
        return $this->auth_key === $auth_key;
    }

}
Let me explain the above code:
Notice that our User model implements IdentityInterface.
The identity interface should be implemented if you are creating a class that provides identity information (e.g User class, Admin class, etc).
Some methods are defined in that interface and we need to define those methods in our class as well.
That is why we have those are the methods (findIdentity, findIdentityByAccessToken, getId, getAuthKey, validateAuthKey) defined there.
Now, look at the the function called "rules". This is where we create the rules that can be validated from the controller.
So here I defined that 'name', 'email', and 'password' should be required, email must be of type email, email must be unique, 'created_at' and 'updated_at' field can be 'safe' updated by user, 'name', 'email' and 'password' should be strings of max length 100 characters.
That brings us to the end of the model for now.
Let's move to the signup controller action.
SignUp Controller Action
The signup action is where we will write the logic to save user information to database.
Navigate to controllers/SiteController.php.
Let's import our User class into the file. Type the following at the top of your file after
namespace app\controllers;:
use app\models\User;
Then go type the following code after the "actionRegister" method:
 public function actionSignUp()
    {
        $request = Yii::$app->request->post();

        $user = new User();
        $user->attributes = $request;
        $user->password = Yii::$app->getSecurity()->generatePasswordHash($user->password);//Hash password before storing to DB
        $session = Yii::$app->session;

        if($user->validate() && $user->save())
        {
            $session->setFlash('successMessage', 'Registration successful');
            return $this->redirect(['site/login']);
        }

        $session->setFlash('errorMessages', $user->getErrors());
        return $this->redirect(['site/register']);
    }
$user->attributes is simply assigning all the User model attributes to the data in the request.
The if statement checks if the user passes the validation rules set in the model and if it saves successfully to the database.
If the user saves to the database, we would be redirected to the login page with a success message.
if not, we would be redirected back to the home page with an error message.
Finally before we test out our registration form, let us edit the login page to display the success message on successful registration.
Navigate to views/site/login.php.
Replace the code there with the following:
<?php

/** @var yii\web\View $this */
/** @var yii\bootstrap4\ActiveForm $form */
/** @var app\models\LoginForm $model */

use yii\bootstrap4\ActiveForm;
use yii\bootstrap4\Html;

$this->title = 'Login';
$this->params['breadcrumbs'][] = $this->title;
?>
<div class="site-login">

        <?php
        $session = Yii::$app->session;

        if($session->hasFlash('errorMessage'))
        {
            $errors = $session->getFlash('errorMessage');

            foreach($errors as $error)
            {
                echo "<div class='alert alert-danger' role='alert'>$error[0]</div>";
            }
        }

        if($session->hasFlash('successMessage'))
        {
            $success = $session->getFlash('successMessage');
            echo "<div class='alert alert-primary' role='alert'>$success</div>";
        }
        ?>

    <h1><?= Html::encode($this->title) ?></h1>

    <p>Please fill out the following fields to login:</p>

    <?php $form = ActiveForm::begin([
        'action' => ['site/login'],
        'id' => 'login-form',
        'layout' => 'horizontal',
        'fieldConfig' => [
            'template' => "{label}\n{input}\n{error}",
            'labelOptions' => ['class' => 'col-lg-1 col-form-label mr-lg-3'],
            'inputOptions' => ['class' => 'col-lg-3 form-control'],
            'errorOptions' => ['class' => 'col-lg-7 invalid-feedback'],
        ],
    ]); ?>

        <?= $form->field($model, 'username')->textInput(['autofocus' => true]) ?>

        <?= $form->field($model, 'password')->passwordInput() ?>

        <?= $form->field($model, 'rememberMe')->checkbox([
            'template' => "<div class=\"offset-lg-1 col-lg-3 custom-control custom-checkbox\">{input} {label}</div>\n<div class=\"col-lg-8\">{error}</div>",
        ]) ?>

        <div class="form-group">
            <div class="offset-lg-1 col-lg-11">
                <?= Html::submitButton('Login', ['class' => 'btn btn-primary', 'name' => 'login-button']) ?>
            </div>
        </div>

    <?php ActiveForm::end(); ?>

    <div class="offset-lg-1" style="color:#999;">
        You may login with <strong>admin/admin</strong> or <strong>demo/demo</strong>.<br>
        To modify the username/password, please check out the code <code>app\models\User::$users</code>.
    </div>
</div>
Test your application.
If you've not served your application, go to command line and type in
yii serve
Then go to your browser and navigate to localhost:8080.
Click on "Register" and input your credentials in the form. Try registering and everything should work fine now. Viola🎉.
In the next article, we will be working on login form and we'll authenticate users properly.
If you have any questions or comments kindly leave them below. Thanks.
Don't forget that the full code for this article can be found on my github: https://github.com/mrfola/yii-result-portal-tutorial/tree/article-1


