Part 5: Implementing User Result Dashboard in YII
Allowing students view their results from their dashboard in YII

This is the fifth article in my blog series "Building A Simple Web Application With YII2" and in this article we'll be working on the student dashboard.
It is going to be a simple interface that shows the student's result for each subject,
The full code for this article can be found on my github: https://github.com/mrfola/yii-result-portal-tutorial/tree/article-5
To check the previous article kindly go here: Part 4: Part 4: Implementing Result Upload By Admin.
Requirements
In order to get the best from this article, you need to have knowledge of certain things. The details of the requirements can be found here: Building A Simple Web Application With YII2
Dashboard View
We created a user dashboard view previously and we had some placeholder code in it. Navigate to site/dashboard and replace that code with this:
<!DOCTYPE html>
<html lang="en">
<head>
    <meta charset="UTF-8">
    <meta http-equiv="X-UA-Compatible" content="IE=edge">
    <meta name="viewport" content="width=device-width, initial-scale=1.0">
    <title>Student Dashboard</title>
</head>
<body>
    <div class="container">
        <h1>Student Dashboard</h1>

        <div class="student-results">
        <table class="table table-striped">
        <thead>
            <tr>
                <th scope="col">#</th>
                <th scope="col">Subject</th>
                <th scope="col">Score</th>
            </tr>
        </thead>
        <tbody>
            <?php
                foreach($results as $index => $result)
                {
            ?>
            <tr>
            <th scope="row"><?=  $index+1; ?></th>
                <td><?= $result["subject"]; ?></td>
                <td><?= $result["score"]; ?></td>
            </tr>

            <?php
                }
            ?>

        </tbody>
        </table>
        </div>
    </div>

    </div>
</body>
</html>
Update Dashboard Action in Site Controller .
We previously created a dashboard action in our SiteController to render our dashboard page. It looks like this:
   public function actionDashboard()
    {
        return $this->render('dashboard');
    }
Let's update this method to include the student result data we need. Replace this method with the following:
    public function actionDashboard()
    {
        $user_id = Yii::$app->user->identity->id;
        $results = Result::findAll(["user_id" => $user_id]);;

        $resultsCollection = [];

        foreach($results as $result)
        {
            $subject = $result->subject->name;
            $resultArray =
            [
                "subject" => $subject,
                "score" => $result->score
            ];
            $resultsCollection[] = $resultArray;
        }
        $data = ["results" => $resultsCollection];
        return $this->render('dashboard', $data);
    }
Don't forget to include the result class at the top of your file (after "namespace app/controllers"):
use app\models\Result;
That done, let's add a bit of margin to our dashboard page to make it look better.
Minor Styling.
Navigate to web/css/site.css.
Type in the following at the end of the file:
.dashboard
{
    margin-top: 20px;
}

.student-results
{
    margin-top: 50px;
}
Testing ...
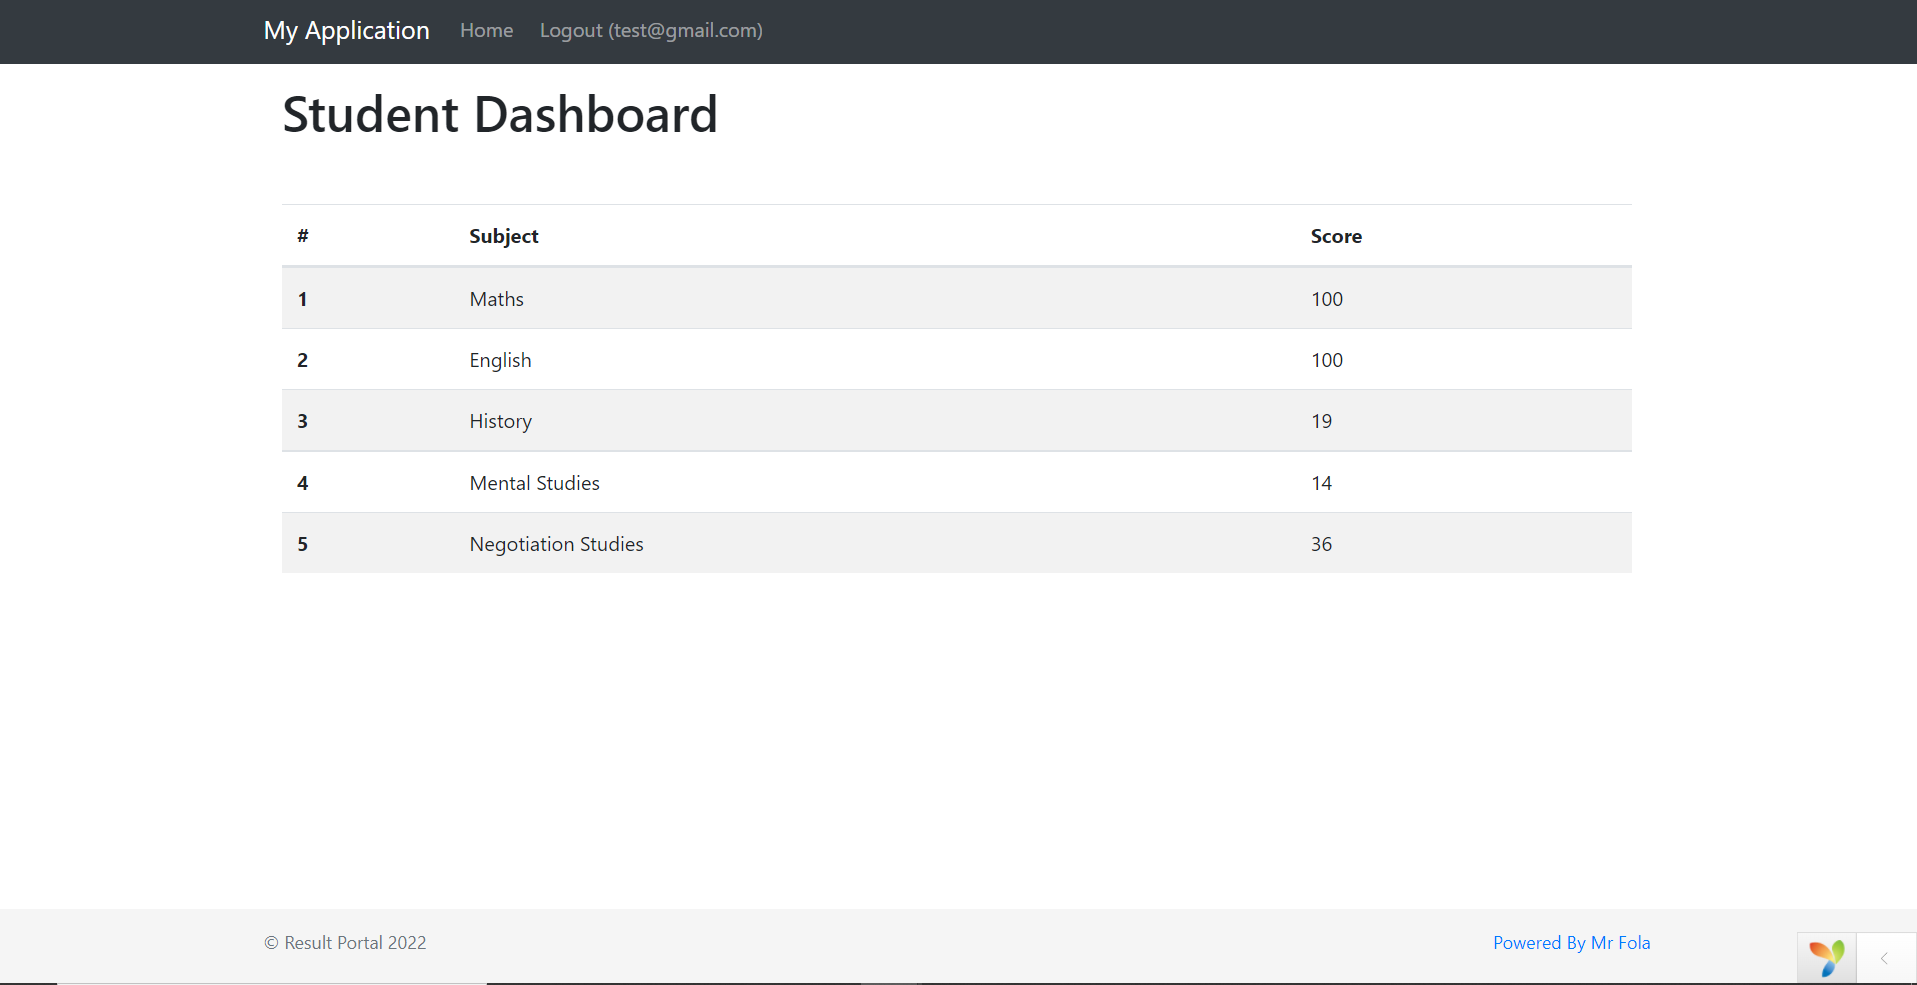
With that done you should be able to view the result pertaining to each student.
If you've not served your application, go to command line and type in
yii serve
Then navigate to localhost:8080 and login.
You should be directed to your student dashboard and you should see something like this:
If you have any questions or comments kindly leave them below. Thanks.
Don't forget that the full code for this article can be found on my github: https://github.com/mrfola/yii-result-portal-tutorial/tree/article-5


